
Salmon fly tying is a popular pastime among fly anglers and can be a creative and rewarding endeavor. Tying your own salmon flies allows you to create custom patterns tailored to the specific fishing conditions and preferences. Here are some of the basics of salmon fly tying:
1. Tools and Materials: Links provided to available products...
- Fly tying Vice: A tool that holds the hook securely while you tie the fly
- Bobbin: Used to hold and dispense the tying thread.
- Scissors: Sharp, fine-point scissors are essential for cutting materials cleanly.
- Hook: Choose a hook suitable for the type of salmon fly you want to tie.
- Thread: Fly tying thread in various colors, typically 8/0 or 12/0.
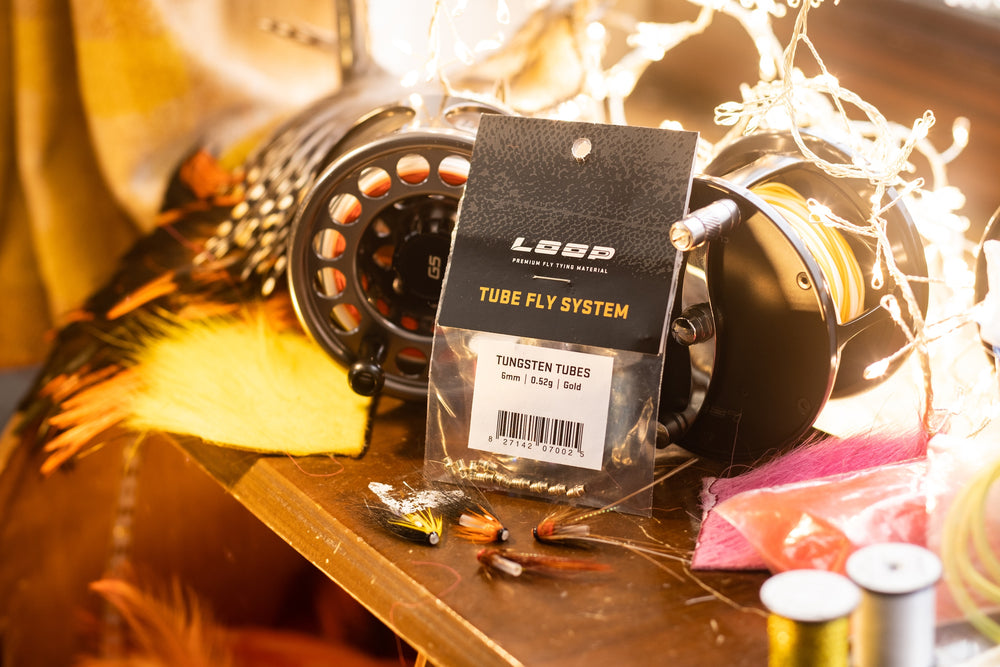
- Furs & Feathers: Various feathers like cock hackles, fox fur, and bucktail.
- Dubbing: Fine fibers for the body of the fly.
- Tinsel, mylar, and wire: Materials for adding flash and segmentation.
- Beads and cones: Used to weight the fly and add color and attraction.
- Glue or head cement: To secure and finish the fly.
2. Selecting a Pattern:
Choose a salmon fly pattern based on the species of salmon, fishing location, and time of year. Popular patterns include the Silver Stoat, Park Shrimp, Ally's Shrimp & Monkey patterns can be traditional or contemporary, and many anglers create their own variations.
3. Tying the Fly:
Start by securing the hook in the vise, then follow these basic steps:
a. Attach the tying thread to the hook shank near the eye.
b. Build a thread base along the hook shank to the point where you want the body to end.
c. Add the materials for the body, tail, and wing according to the pattern.
d. Rib the fly with tinsel or wire, if necessary.
e. Create a hackle or collar around the fly to give it movement and volume.
f. Finish the fly by tying off the thread and applying head cement to secure the wraps.
4. Variations and Customization:
Feel free to experiment with different materials, colors, and sizes to create variations of existing patterns or entirely unique flies. The possibilities are limited only by your creativity.
5. Practice:
Fly tying can be intricate, and it may take some practice to perfect your skills. Start with simpler patterns and gradually work your way up to more complex ones.
6. References:
Use books, online tutorials, and videos to learn and improve your salmon fly tying skills. Joining a local fly tying club can also be beneficial, as it allows you to learn from experienced tyers and share ideas.
7. Safety:
Be cautious when using sharp tools and chemicals like head cement. Ensure proper ventilation when working with adhesives and follow safety instructions.
Remember that salmon fly tying is an art form, and there's no one-size-fits-all approach. As you gain experience, you'll develop your style and preferences, which can lead to creating effective and beautiful flies for salmon fishing.
Here is a tutorial video on how to tie the Park Shrimp fly with designer Ross Macdonald.